Updating dates, rates, and available for multiple tours using Accelerate
Overview
-
Importing Trip Data
-
Updating Prices for trips
-
Special note for group / slab pricing
-
Updating Open slots for trips
-
Opening a new slot
-
Modifying a currently open slot
-
Closing a slot
-
-
Verifying the changes
Please follow the following steps to learn more about updating Prices & Rates and Availability of 1 or multiple tours.
Before you begin, please do make sure that your Accelerate account is active and connected with Google Sheets. If you are unsure, please read the support article on how to activate Accelerate
Importing Tour Data
Please check this support article: Importing tour Data to Accelerate sheet
Adding/modifying prices for trips
After ensuring that you have selected and pushed data for existing tours, check the TripsPricingData sheet whereyou will be able to see the entries of availability of the trip along with the price and capacity
Note: Accelerate can be used to open new availability slots only when you already have at least 1 slot opened from the admin panel. If you try to push the data of a trip which doesn’t already has open slots then the TripsPricingData sheet will not contain any row related to that tour.

Scroll to the left and find the Pax categories such as Adult, child etc and set the price accordingly (refer screenshot below, in column S and T in this example)
Set the prices as you desire and then go to Column A, titled Action, and type in Edit (refer screenshot below)
Finally, go back to the Accelerate Plugin Page and click on Update Trip Data (refer screenshot below). This will pull the new data (pricing) from the Google Sheet and update the tour in your Vacation Labs account.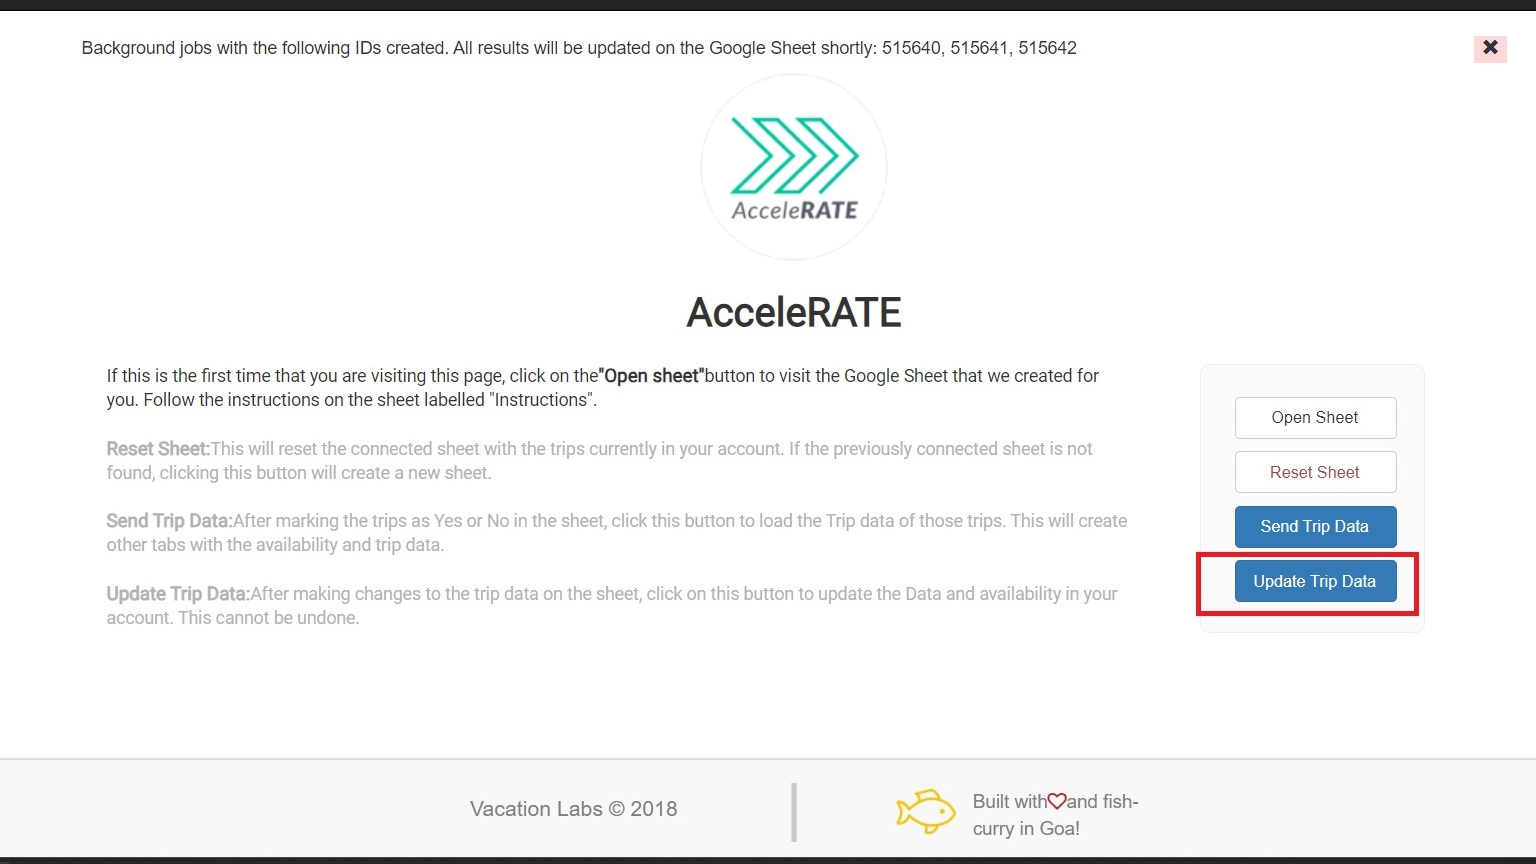
You can go back into the sheet and check for the text in the Action column (column A) if the prices gets pushed without any issues then you will get a Success text (refer screenshot below)
Special note for slab / group pricings
In case the trip has group based pricing then they will appear in the sheet like in the screenshot given below. The group pricing structure facilitates easy comprehension of pricing tiers based on the number of passengers. In the provided format, the first slab encompasses groups of up to 5 passengers, priced at 100 per person with no additional charges. Moving to the second tier, accommodating groups from 6 to 2000 passengers, the price per person reduces to 90, with no extra fees. To extend this structure for groups of 2001 to 3000 passengers at a rate of 80 per person, a new row can be added as follows:
Group Pricing | No of passengers | Price per passenger | Additional charge (if any) | written as in the sheet |
1st bracket | upto 5 passengers | 100 | 0 | [5,100,0] |
2nd bracket | from 6 - upto 2000 passengers | 90 | 0 | [(2000,90,0] |
3rd bracket (to add) | from 2001 - upto 3000 passengers | 80 | 0 | [3000,80,0] |
Please add the pricing brackets in the same cell and not the cell below it or any other place

Opening, modifying and Closing Dates for trips
- Column A - Action allows you to decide what action you can take. There are 3 commands available which allow you to edit and manage content via Accelerate:
-
Open - to open/create new slots or dates on calendar
-
Edit - to edit/modify the price or capacity of a slot that is already opened
-
Close - to close any slots which are already ope
-
Days of Week
In the sheet, there are columns representing days of the week from Monday to Sunday. You can set these to “true” or “false” to indicate which days the trip should be open.
For example, if you set a trip to be open from April 12th to April 30th but mark Saturday and Sunday as “false” in the respective columns, the system will only open the trip on weekdays (Monday through Friday) within the specified date range or vice versa.
This allows you to customize the trip’s availability based on specific days of the week, ensuring flexibility in scheduling according to your preferences. (refer screenshot below)
Opening a new date / time slot
-
Duplicate any existing row and paste it on a new line.
-
Change the value in the “Action” column from “Skip” to “Open”.
-
Specify the dates:
-
For a single date slot, input the same date in both the “First open Date” (Column F) and “Last Open Date” (Column G).
-
For a range of dates, input the starting date in Column F and the ending date in Column G.
-
-
Customize the details for the new slot, such as prices, capacity, and advertised price.
-

-
After you have made the changes on the sheet go to the Accelerate page and click on Update Trip Data. This will push the new slots to the product and a new slots will be opened on the admin panel.

-
Editing an existing date / time slot
-
Locate the row corresponding to the open date you want to modify.
-
Adjust the date, time, prices for each passenger type, capacity, and advertised price in the sheet.
-
once done change the value in the “Action” column from “Skip” to “Edit”. (refer screenshot below)

-
Once you’ve made the necessary changes, navigate to the Accelerate page and click on “Update Trip Data” to apply the modifications to the actual product.
Close an existing date / time slot
-
Go to the row/opened slot that you want to close
-
Under the Action column change Skip to Close (refer screenshot below)

-
After you have made the changes on the sheet go to the Accelerate page and click on Update Trip Data. This will close the selected slots.
Verifying the Changes made via Accelerate
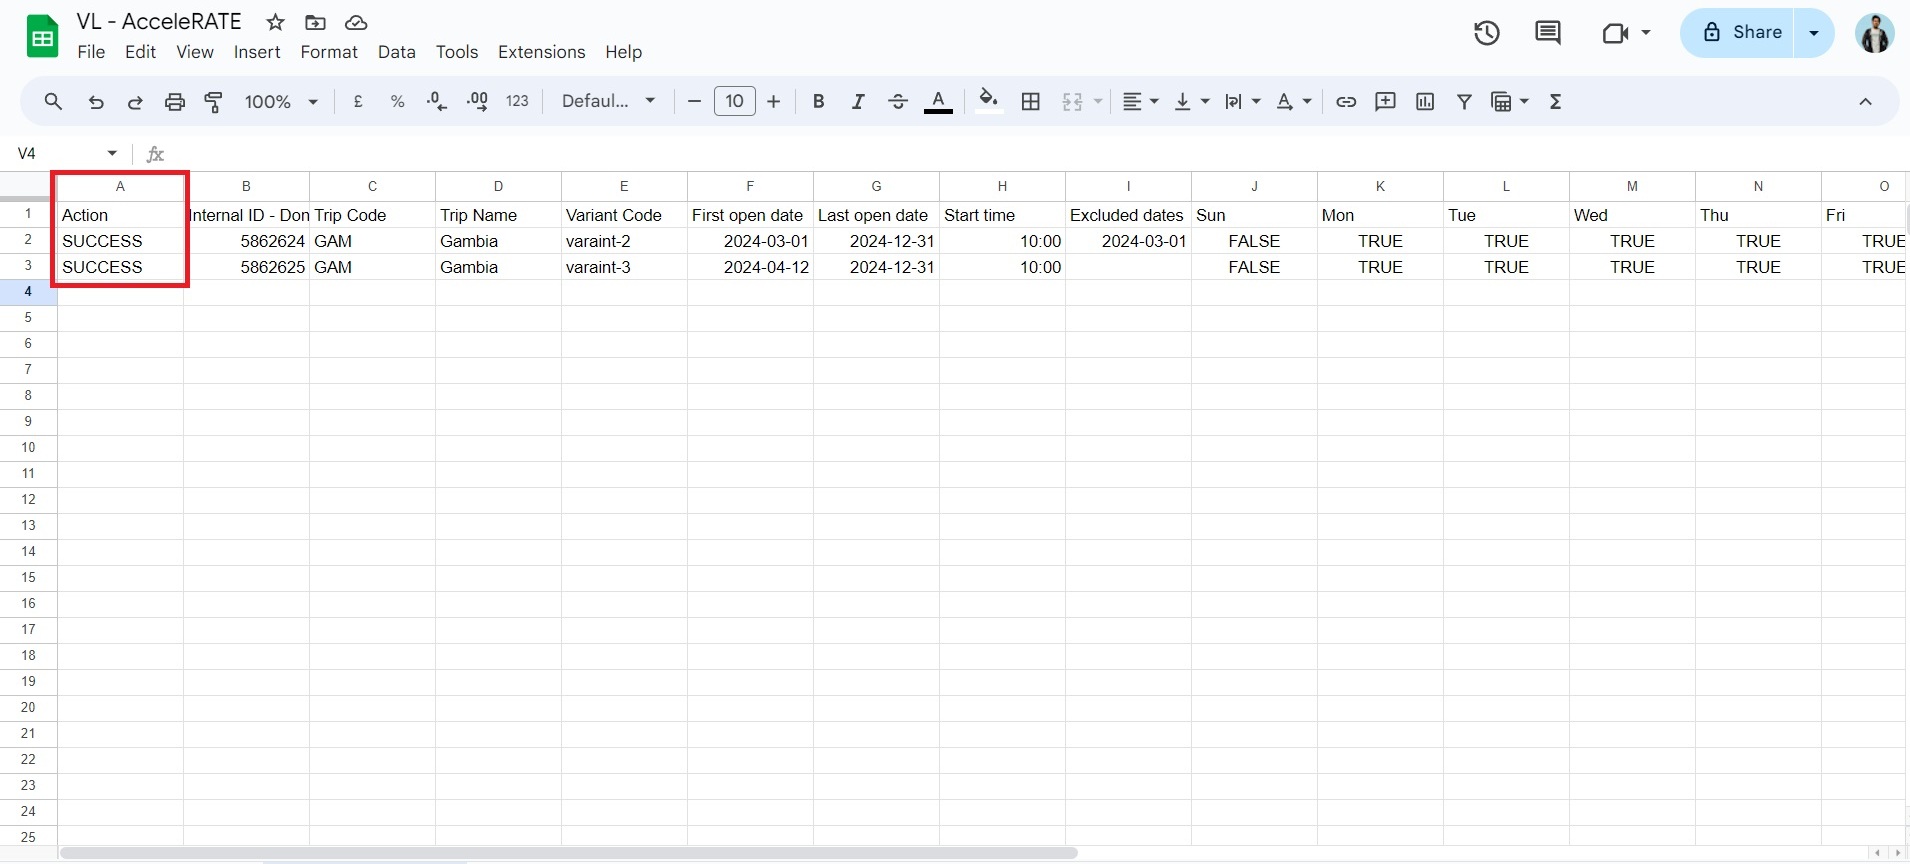
- Once you have clicked on the Update Trip Data button, you will get a SUCCESS text in Column A after a few seconds like this(refer screenshot below), this indicates that the changes have been pushed to the trip

- Now you can open the trip in the storefront and check the pricing and the available dates.