Fixing Payment Status Mismatches
Overview
Sometimes an online payment may show as “failed” or “abandoned” in your backoffice even though the customer actually paid successfully. This can happen for a few reasons:
- Network issues during payment: The customer’s internet connection dropped after paying but before the payment confirmation reached your backoffice.
- Delayed UPI payments: With Indian payment gateways like Razorpay, customers using UPI can complete a payment well after it was initiated — sometimes minutes or even hours later. By then, the backoffice may have already marked the payment as abandoned.
- Gateway processing delays: The payment gateway may take longer than expected to confirm the transaction.
In many cases, the system will automatically detect and recover these payments. When it doesn’t, you can correct the status manually from your backoffice — without needing to contact support.
Automatic Recovery
For Razorpay and PayU India payments, the system automatically listens for confirmation from the gateway. If a payment was marked as failed or abandoned but the gateway later confirms it was captured, the system recovers the payment automatically — no action needed from you.
Automatic recovery currently works with Razorpay and PayU India. For other payment gateways, use the manual options below.
Re-sync with Payment Gateway
If a payment was made through an online payment gateway and the status looks incorrect, you can check the actual status directly with the gateway and update your records.
- Go to Bookings and open the booking with the payment issue.
- Under Payments, click on the payment that shows the wrong status.
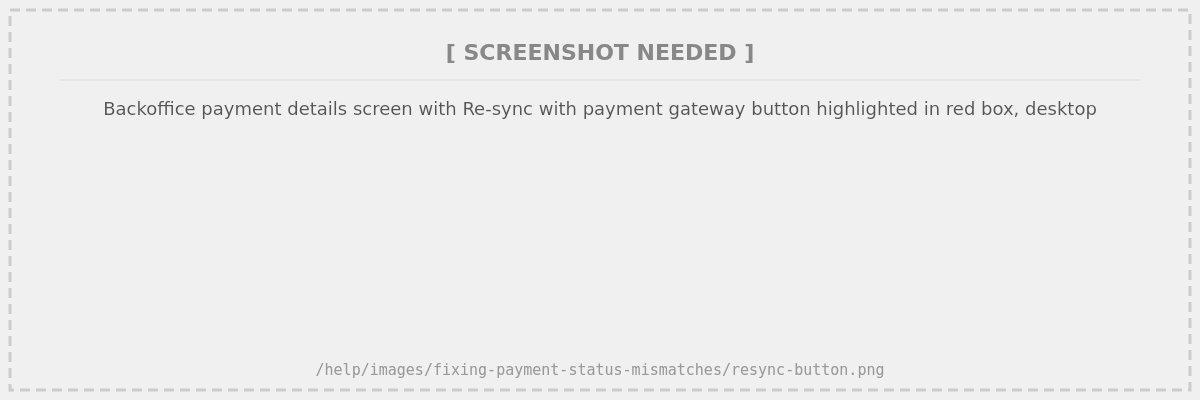
- Click the Re-sync with PG button.
The system will check the payment’s actual status with the gateway. If the gateway confirms the payment was captured, the status in your backoffice will be updated to successful automatically.
The re-sync feature currently works with Razorpay and PayU India. For other payment gateways, use the “Mark as successful” option described below.
Manually Mark a Payment as Successful
For online payments where re-sync isn’t available (i.e. payment gateways other than Razorpay and PayU India), you can manually mark the payment as successful after verifying it with your gateway.
- Go to Bookings and open the relevant booking.
- Under Payments, click on the payment that shows the wrong status.
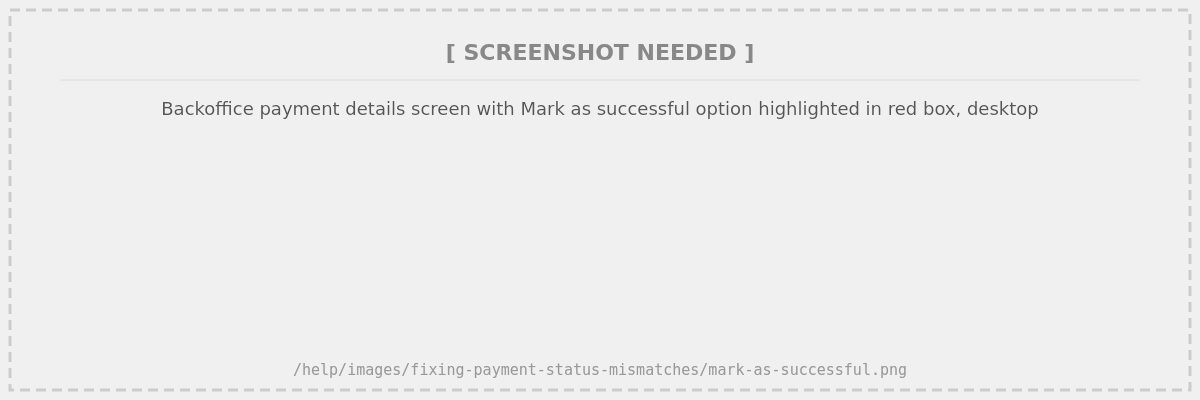
- Click Mark as Successful.
- In the dialog that appears, enter the PG Reference / Transaction ID from your payment gateway (e.g.
pay_ABC123xyz) and the Date of Successful Payment. - Click Mark as Successful to confirm.
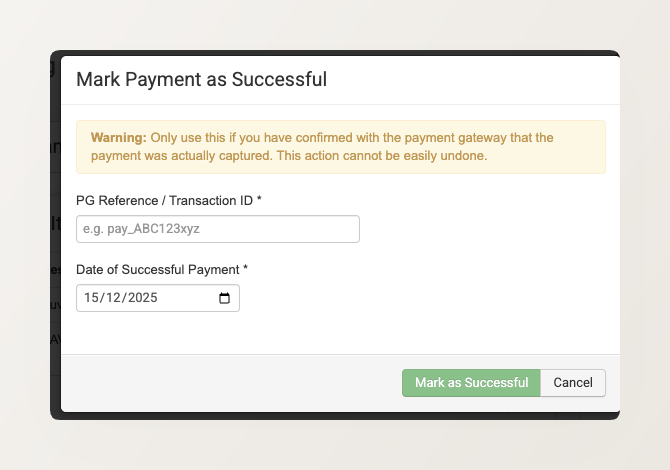
Only use this if you have confirmed with the payment gateway that the payment was actually captured. This action cannot be easily undone, and it only updates the record in your backoffice — it does not trigger any actual money transfer.