Tour Page Photo Gallery
The Photo Gallery is a dedicated section on your tour detail pages that displays all images uploaded for a tour in a swipeable carousel. Visitors can browse photos with captions, click any image to open a full-size lightbox, and watch videos that auto-play when opened.
Enabling the Photo Gallery (if not already visible)
If the Photo Gallery is not visible on your tour pages, you may need to enable it:
- Go to Website > Pages and click Tour Details Page.
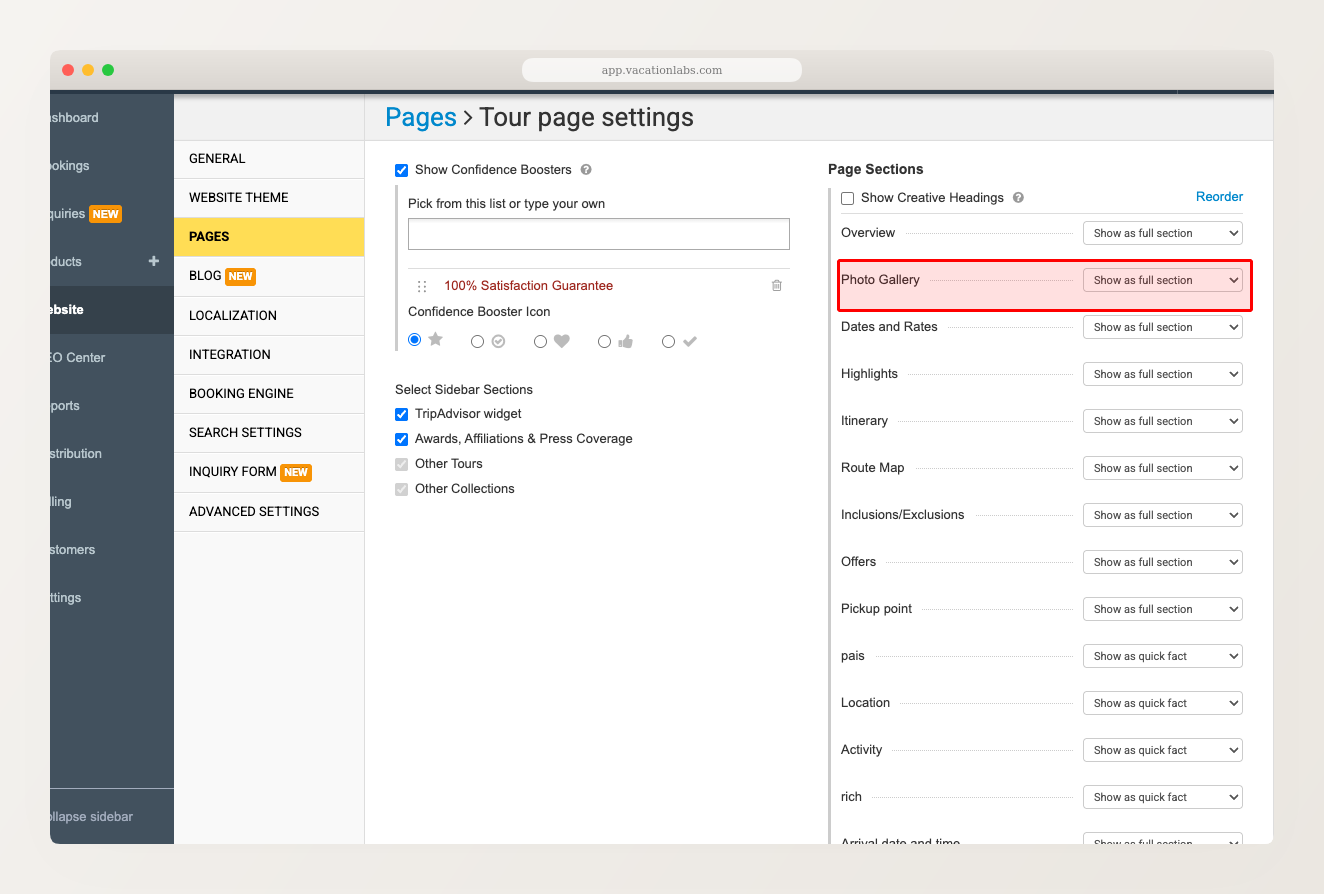
- In the Page Sections panel on the right, find Photo Gallery.
- Change the dropdown from Hide to Show as full section.
- Click Save.
The gallery will now appear on all tour detail pages that have more than one photo.
Adding Photos to Your Tours
The gallery automatically displays images from your tour’s Photos & Videos section. To add or manage images:
- Go to Products > Trips and edit the tour.
- Under Basic Details, scroll to Photos & Videos.
- Click Add Images to upload photos.
For detailed instructions, see Add or change photos on a tour.
The gallery only appears on tours that have more than one photo. If a tour has just a single image, only the banner is shown.
The gallery uses the same images as your tour’s Basic Details — there is no separate image set for the gallery. Any photos you upload under Photos & Videos will appear in both the banner rotation and the gallery section.
Related Articles
- Add or change photos on a tour — uploading and managing tour images
- Banner images and focus points — setting the banner image and focus point
- Managing Tour Page Sections — controlling which sections appear on your tour pages