Uploading Images in the Rich Text Editor
Overview
You can upload images directly from any rich text editor in the backoffice. This works everywhere the rich text editor appears — blog post bodies, Rich Content sections, itinerary descriptions, and static page content areas.
Previously, inserting an image required uploading it separately to the tour’s photo gallery or an external service, copying the URL, and pasting it into the editor. Now you can upload and insert in one step without leaving the editor.
For pages that support multiple sections (blog posts, static pages, collection pages), we recommend using Rich Content sections with photo galleries instead of embedding images inline. Rich Content sections give you better layout control, automatic image optimization, responsive design across devices, and a carousel for multiple images. Use inline editor uploads for cases where you need a single image within a paragraph of text — for example, a small diagram in an itinerary description.
How to upload an image
-
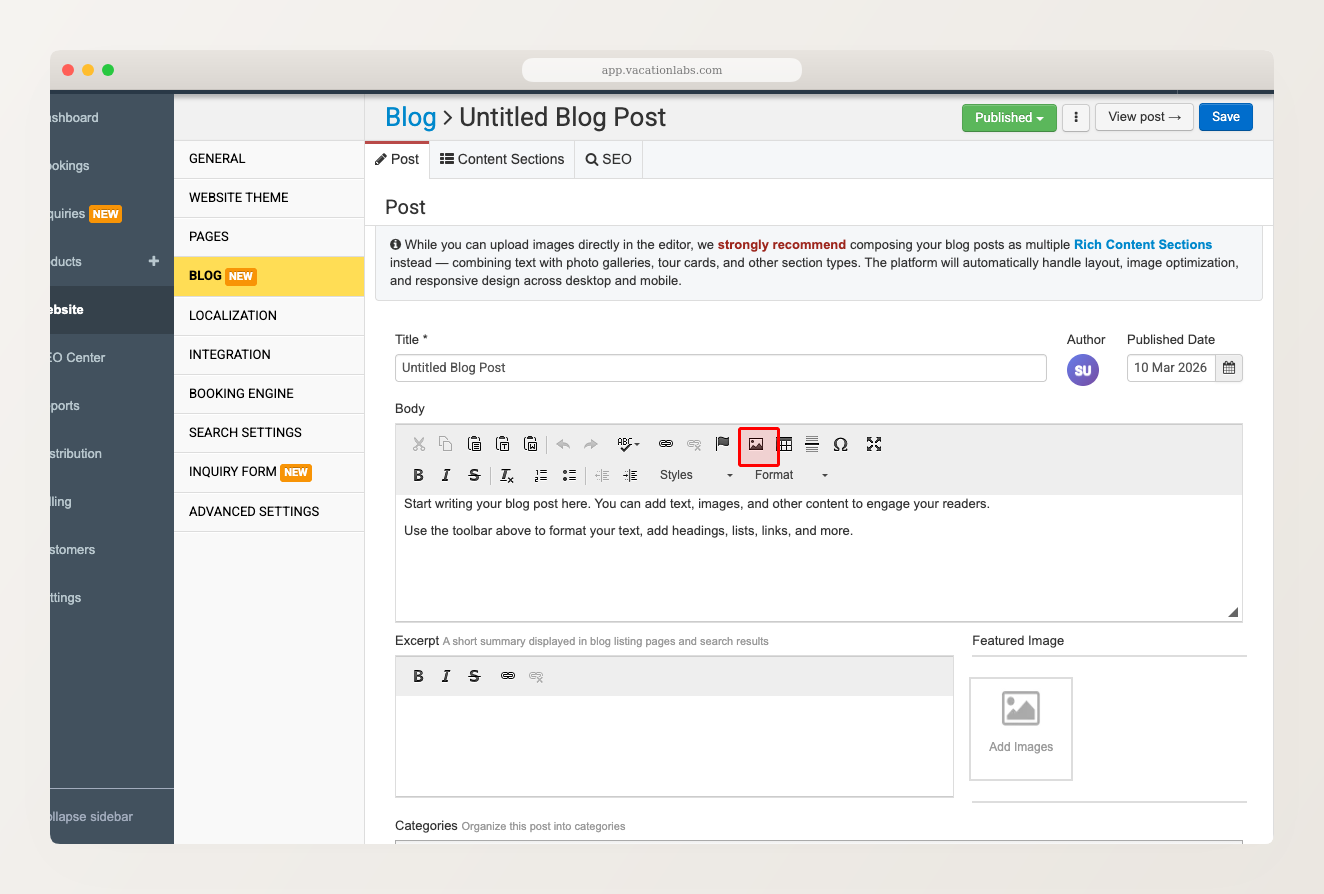
In the rich text editor, place your cursor where you want the image to appear.
-
Click the Image button in the toolbar (the landscape picture icon).
-
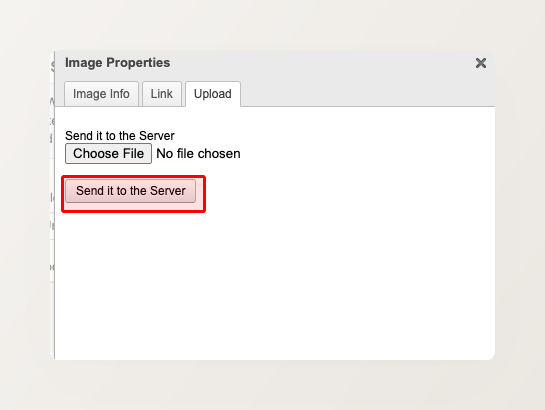
In the Image Properties dialog, click the Upload tab.
-
Click Choose File and select an image from your computer.
-
Click Send it to the Server. The dialog switches back to the Image Info tab with the image URL filled in automatically.
-
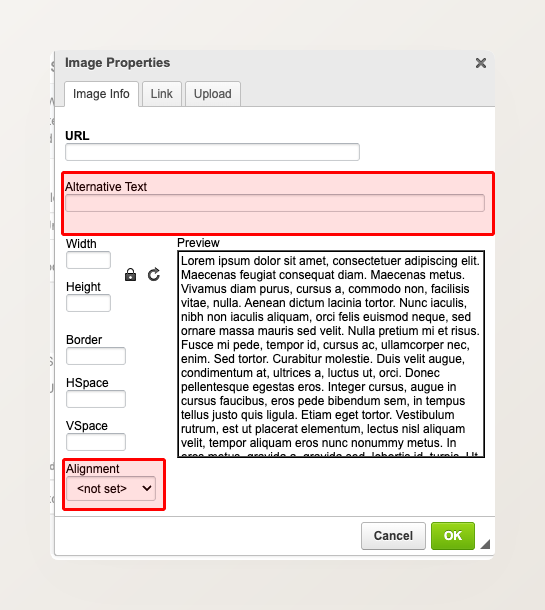
Optionally set the Alternative Text (recommended for accessibility and SEO — describe what the image shows).
-
Optionally adjust Alignment to control how text wraps around the image (see below).
-
Click OK to insert the image.
Uploaded images are saved to your account’s photo library. They support JPEG, PNG, and WebP formats.
Image alignment
The Alignment dropdown in the Image Properties dialog controls how the image sits within your text:
- Left — image floats to the left, text wraps around the right side
- Right — image floats to the right, text wraps around the left side
- Center — image is centered with no text wrap (appears on its own line)
- Not set — image appears inline with the text at its original size
On mobile devices, left and right aligned images automatically stack vertically (full width, text below) so content remains readable on smaller screens.
Related Articles
- Rich Content Section with Photo Gallery — the recommended way to add images on pages that support sections
- Adding Images Inside Itinerary — older URL-based method (still works but no longer necessary)
- How to Add Alt Tags to Images — adding descriptive text to gallery images