How to Create and Edit Your Website's Navigation Menu
Follow this step-by-step guide to create/update or customize your website’s menu/navigation.
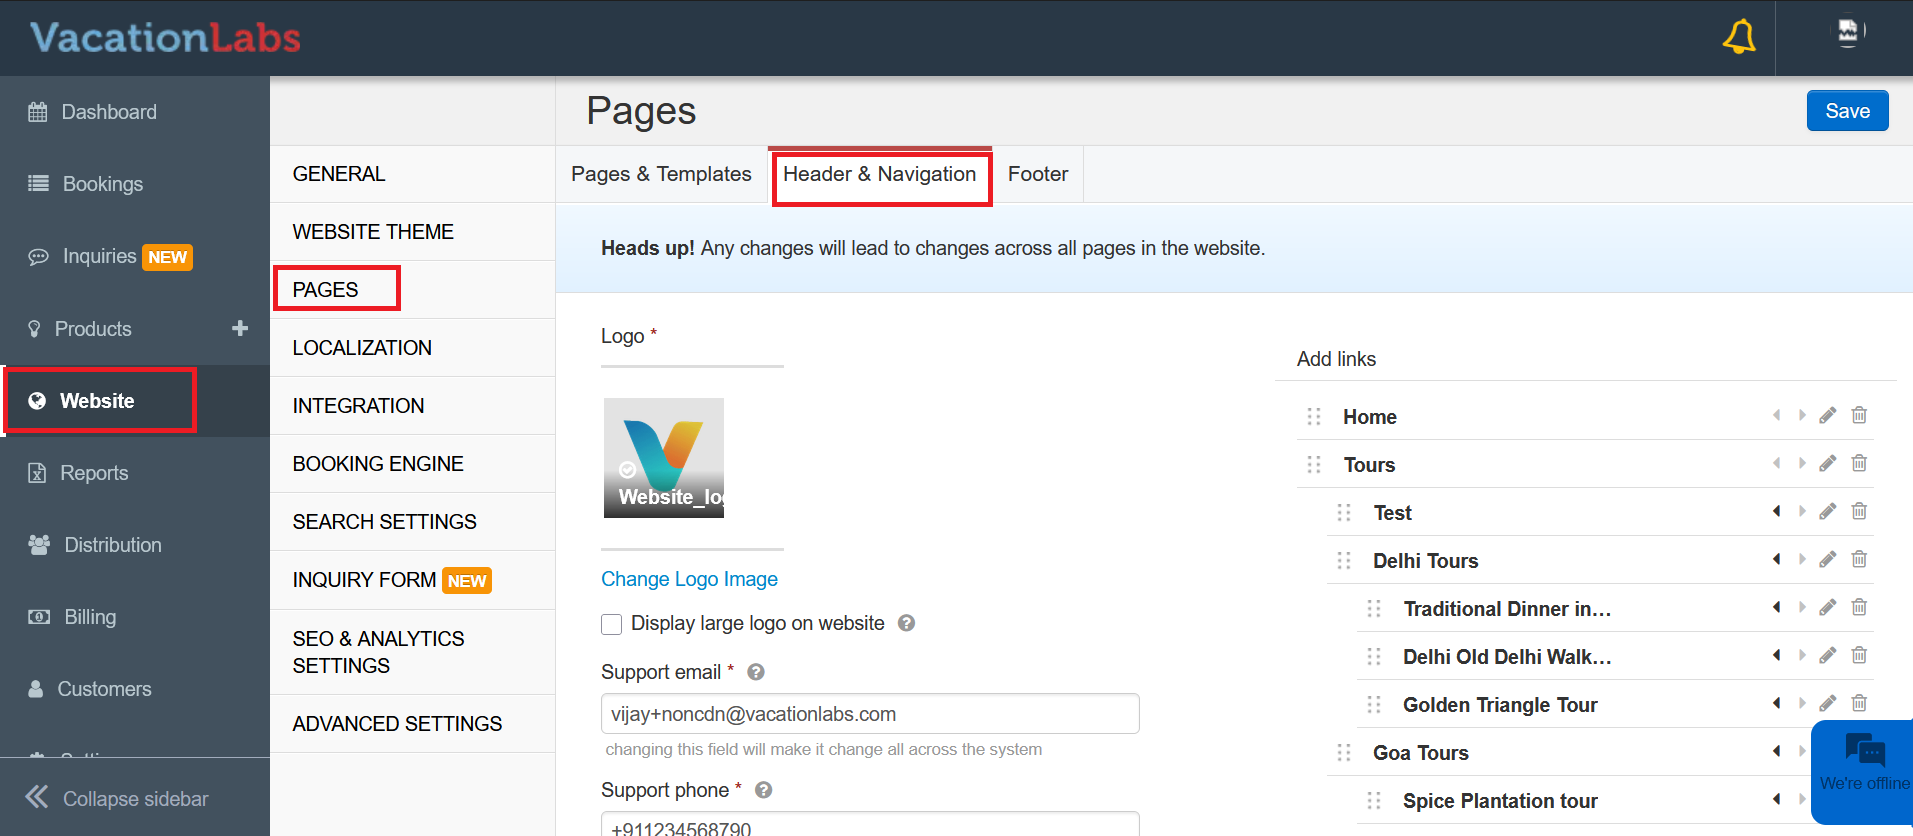
Step 1: Log In
Sign in to your account at app.vacationlabs.com/signin.
Step 2: Access the Navigation Editor
-
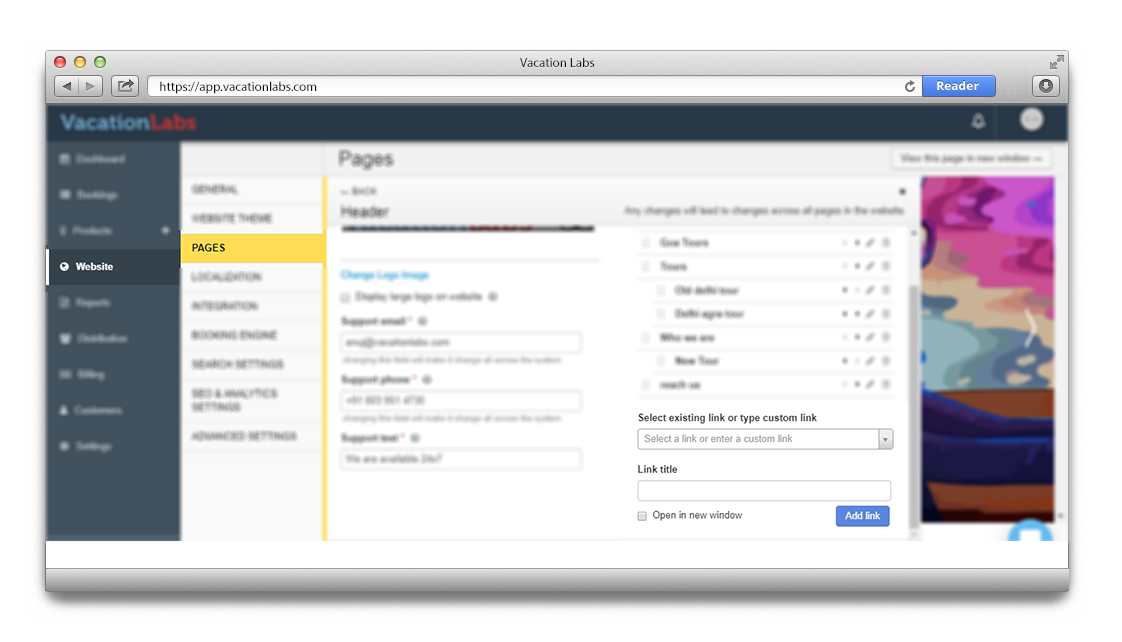
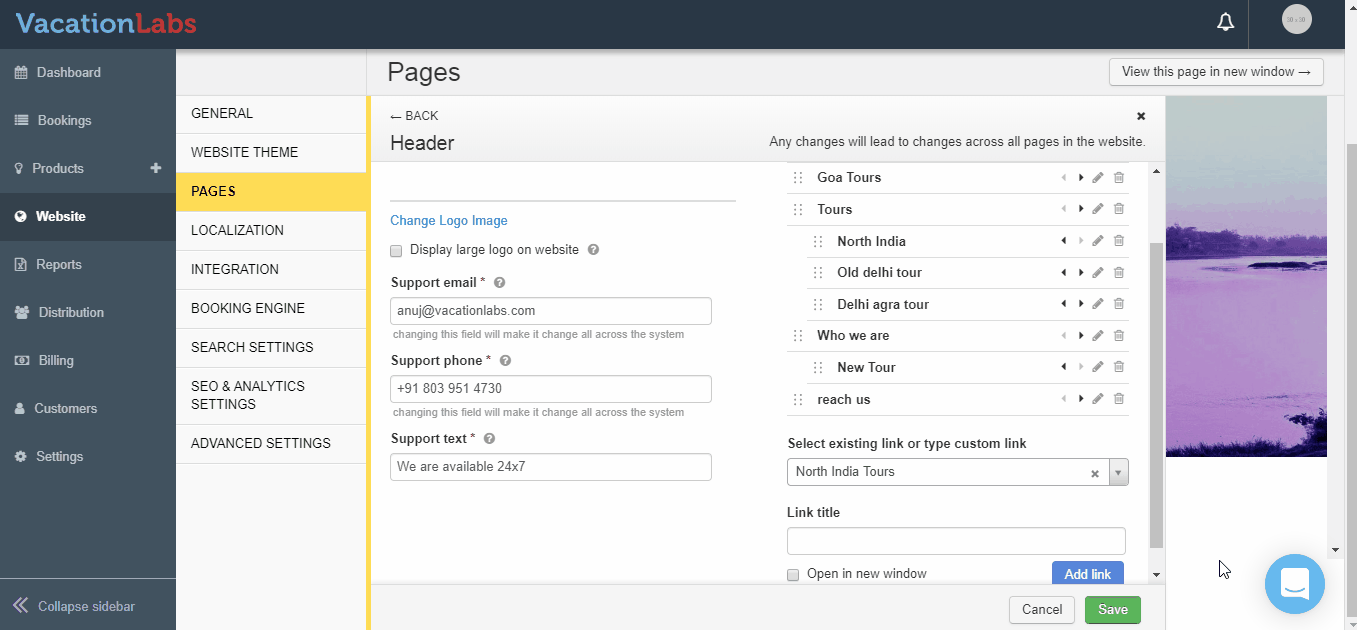
Navigate to WEBSITE > PAGES > Header & Navigation.
-
This section displays your current menu structure.
Step 3: Creating Menu Entries
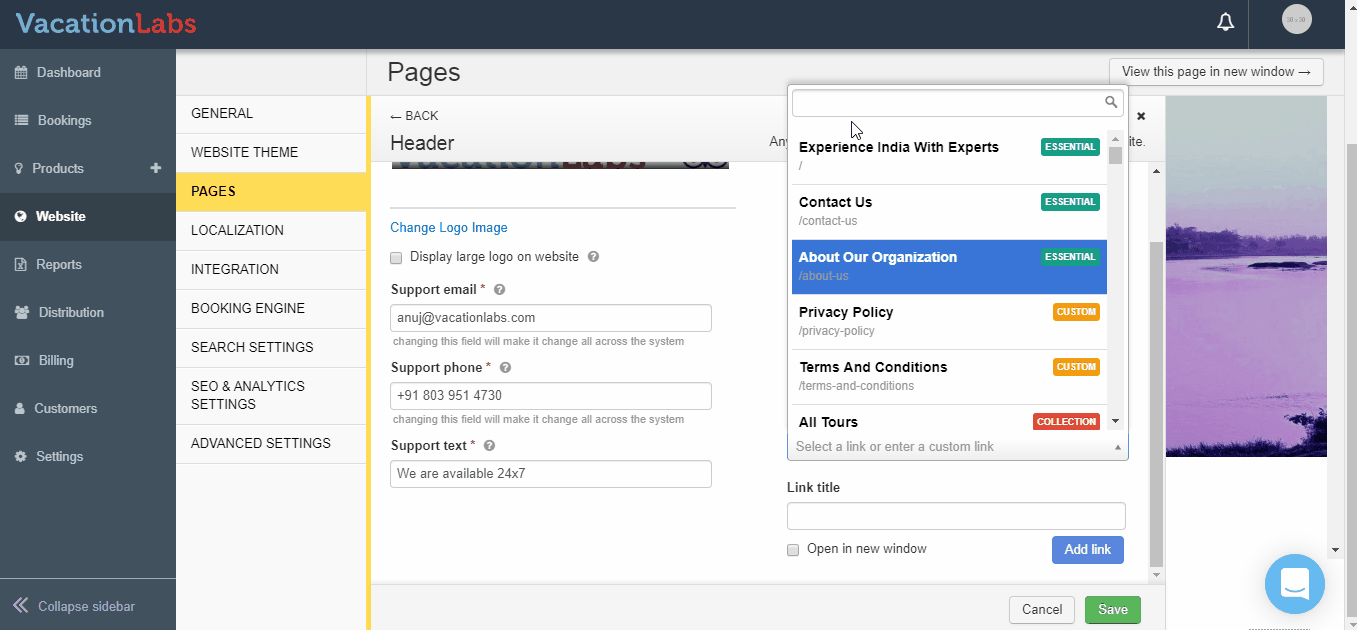
Option A: Internal Pages
-
Click SELECT EXISTING LINK dropdown
-
Browse through available:
- Tour packages
- Collection pages
- Static content pages
-
Select your desired destination
Option B: External Resources
-
Paste the complete URL (including https://)
-
Ideal for:
-
Blog articles
-
Partner websites
-
External resources
-
Menu Label
Enter a concise LINK TITLE (avoid long text; it may truncate).
Pro Tip: To create a non-clickable dropdown header, add a Link title but leave the link field empty.
Step 4: Configure Link Behavior (Optional)
- Check OPEN IN NEW WINDOW if the link should open in a new tab.
Click ADD LINK to save.

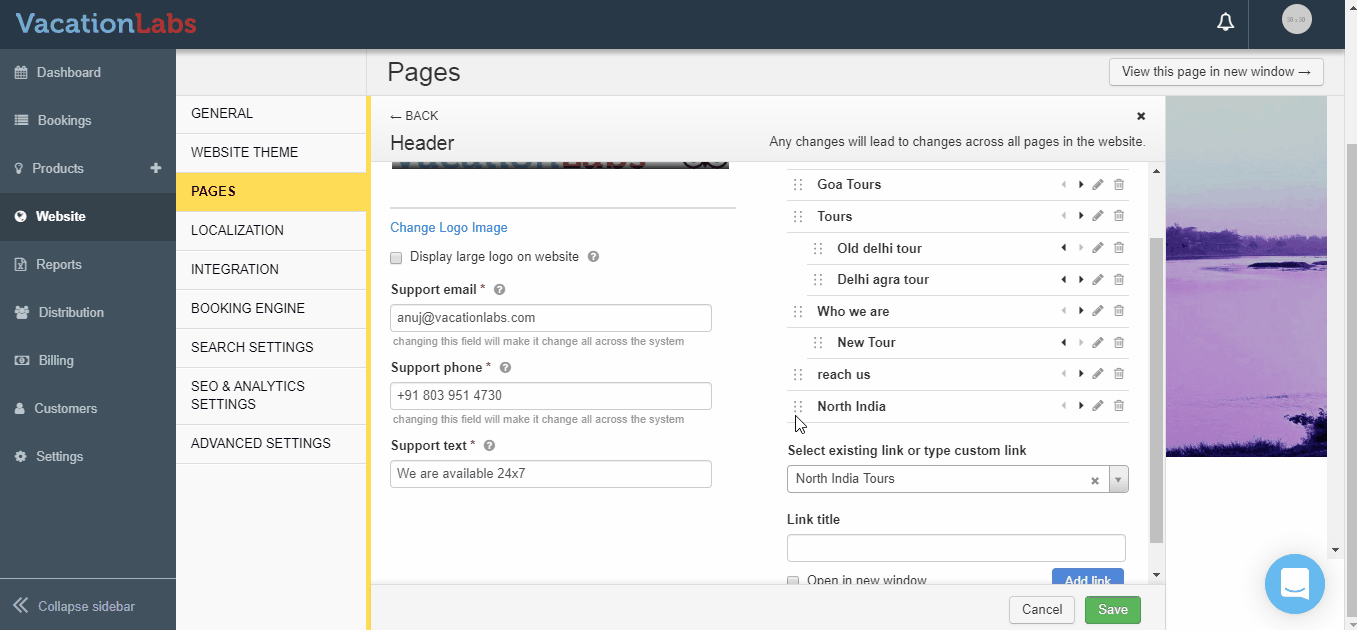
Structuring Your Navigation
Reordering Items
-
Locate the six-dot handle (⋮⋮) beside each menu item
-
Click, hold and drag to desired position
-
Visual guidelines will appear during dragging
Building Hierarchies
-
Drag item rightward to indent beneath parent
-
Alternatively use the arrow icon to create submenus
-
Remember: Parent items should remain unlinked for clean dropdowns
-
Limit nesting to 2 levels for optimal usability
Editing Existing Links
To modify current navigation:
-
Identify the pencil/edit icon adjacent to the target item
-
Update either:
-
The displayed LINK TITLE
-
The destination URL
-
-
Confirm changes by clicking EDIT LINK
-
Always select SAVE to preserve modifications
Removing Menu Items
For menu cleanup:
-
Click the trash can icon next to unwanted links
-
Reorganize remaining items as needed