Adding Videos to Your Website
Overview
You can add video to your website in two ways: upload your own video file, or embed a YouTube link. Either kind of video can appear in a page banner/slide, a page content section, a tour’s media gallery, or an itinerary — and can play silently on its own or open in a click-to-play viewer.
Both kinds of video are managed in one place, the Media Library, where you can edit a video’s title, change its thumbnail, and see where it’s used.
Adding a video
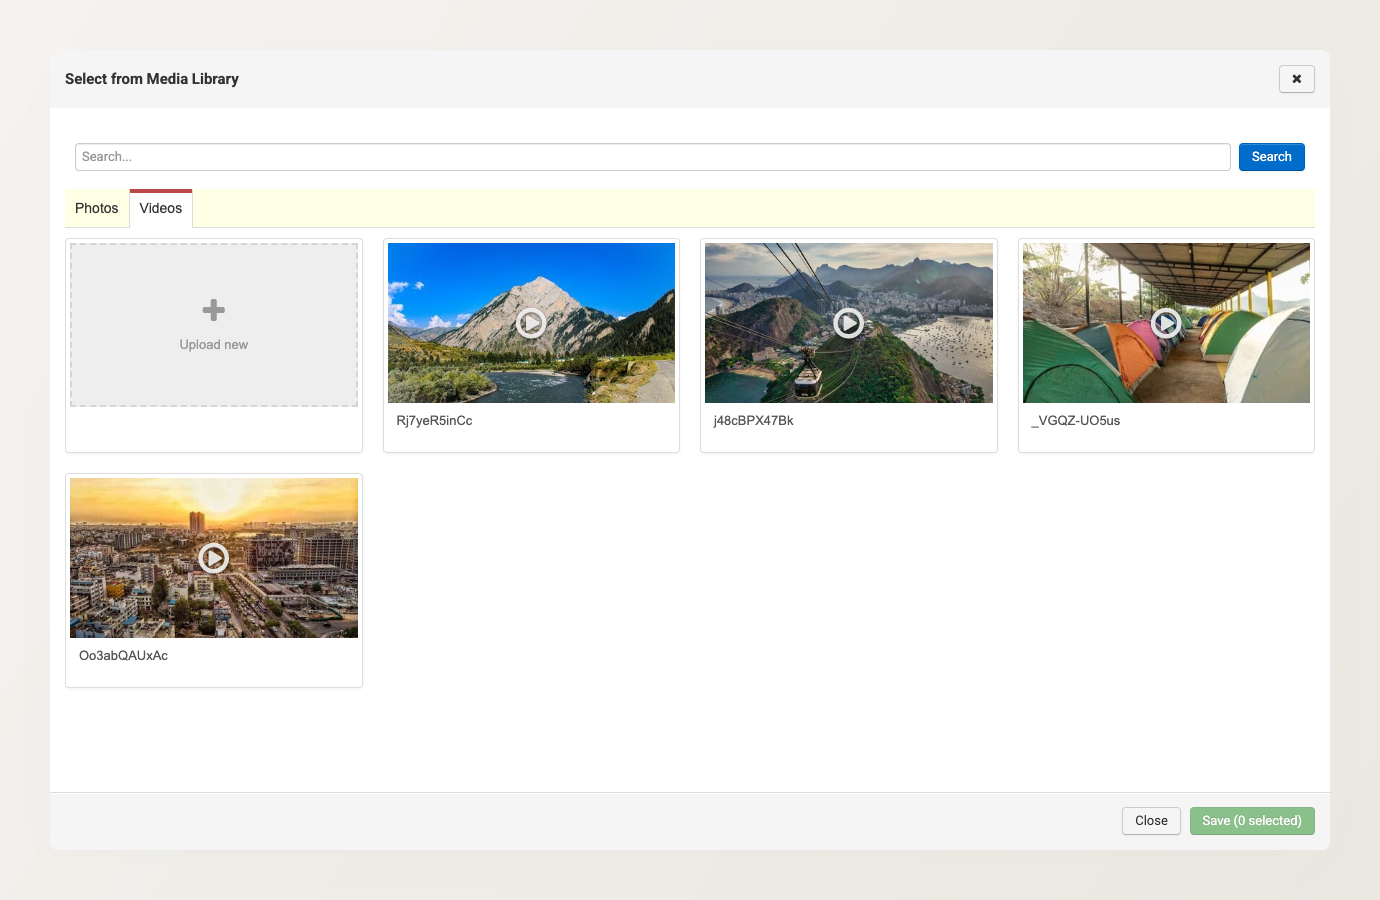
You add a video wherever you choose media — a tour’s photos, a banner slide, or a page section — using the media picker. The picker has a Videos tab with the two options.
Upload your own video
- In the media picker, switch to the Videos tab.
- Click Upload new and choose a video file from your computer.
- Wait for the file to upload and finish processing.
- Set a thumbnail (the still image shown before the video plays).
Each video file can be up to 1 GB. Larger files are rejected with a message asking for a smaller file.
Use a YouTube link
If your video is already on YouTube, paste its link instead of uploading a file. In the video settings (for example, a banner slide’s options), enter the full YouTube URL in the YouTube Video URL field.
Uploading your own video means you don’t need a YouTube account, and your video plays without YouTube’s branding or suggested-video overlays.
Where videos can appear
A video — uploaded or from YouTube — can be placed in any of these:
- Page banners and slides — a video at the top of a page, including as one slide in a rotating banner (on custom, tour, promotion, and collection pages). See Adding sliders to the homepage banner.
- Page description and gallery sections — inside a page’s content. See Rich Content section.
- A tour’s media gallery — alongside the tour’s photos. See Add or change photos on a tour.
- Itinerary Builder — in an itinerary’s item photos and content sections.
Video can’t go everywhere an image can. These spots stay photo-only: your logo and favicon, blog featured images and author photos, team-member and testimonial photos, accreditation logos, a page’s social-share (preview) image, section background images, and your profile photo. If a media picker doesn’t show a Videos tab or an Add Photo/Video option, that spot accepts photos only.
Auto-play vs click-to-play
For each video placement you choose how it behaves:
- Auto-play silently — the video plays on its own, on a continuous loop, wherever the page layout supports it. Best for short, ambient clips.
- Click-to-play — the video stays paused behind a play button and opens in a viewer when a visitor clicks it. Best for longer videos with sound.
Auto-play is always silent: web browsers only let a video start on its own if it has no sound, so visitors aren’t surprised by unexpected audio. If you want visitors to hear the video, use click-to-play — the sound plays once they press play.
On mobile, whether a video auto-plays depends on the visitor’s browser — some mobile browsers block auto-play for both uploaded and YouTube videos. This is a browser policy, not a setting on your site.
Custom thumbnail
The thumbnail is the still image a visitor sees before the video plays. Set or replace it from the Videos tab of the Media Library using Change thumbnail on the video’s card. A good thumbnail matters most for click-to-play videos, where it’s what visitors see until they press play.
Managing your videos
All your videos live on the Videos tab of the Media Library. From there you can rename a video, change its thumbnail, turn silent auto-play on or off, and see exactly where each video is used before changing or removing it.
To change an existing slide’s video settings (title, thumbnail, or auto-play), edit the video in the Media Library rather than in the slide. The slide’s options don’t show those settings for a video that’s already attached.